
How to Create a Boarding Service
How to Create a Boarding Service
This guide walks you through creating a boarding service for your organization on Creatures.
Before you begin, you'll need to complete your account verification. See Understanding Verification on Creatures for details.
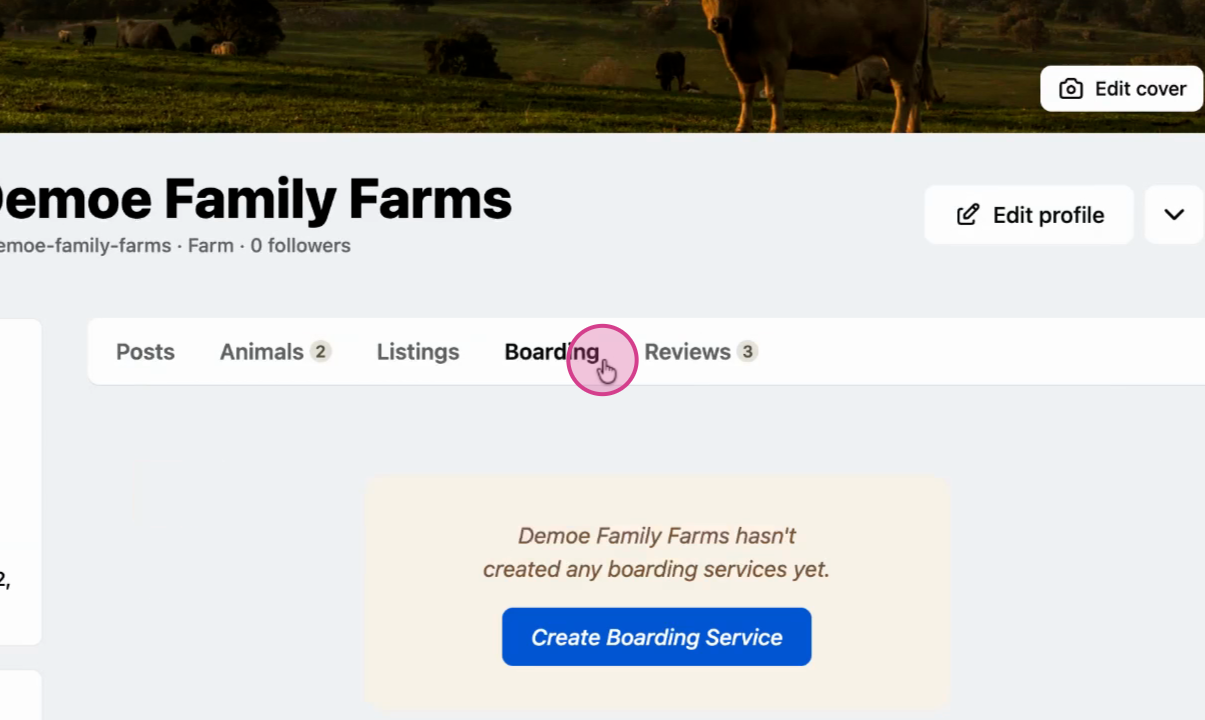
Step 1: Access the boarding section
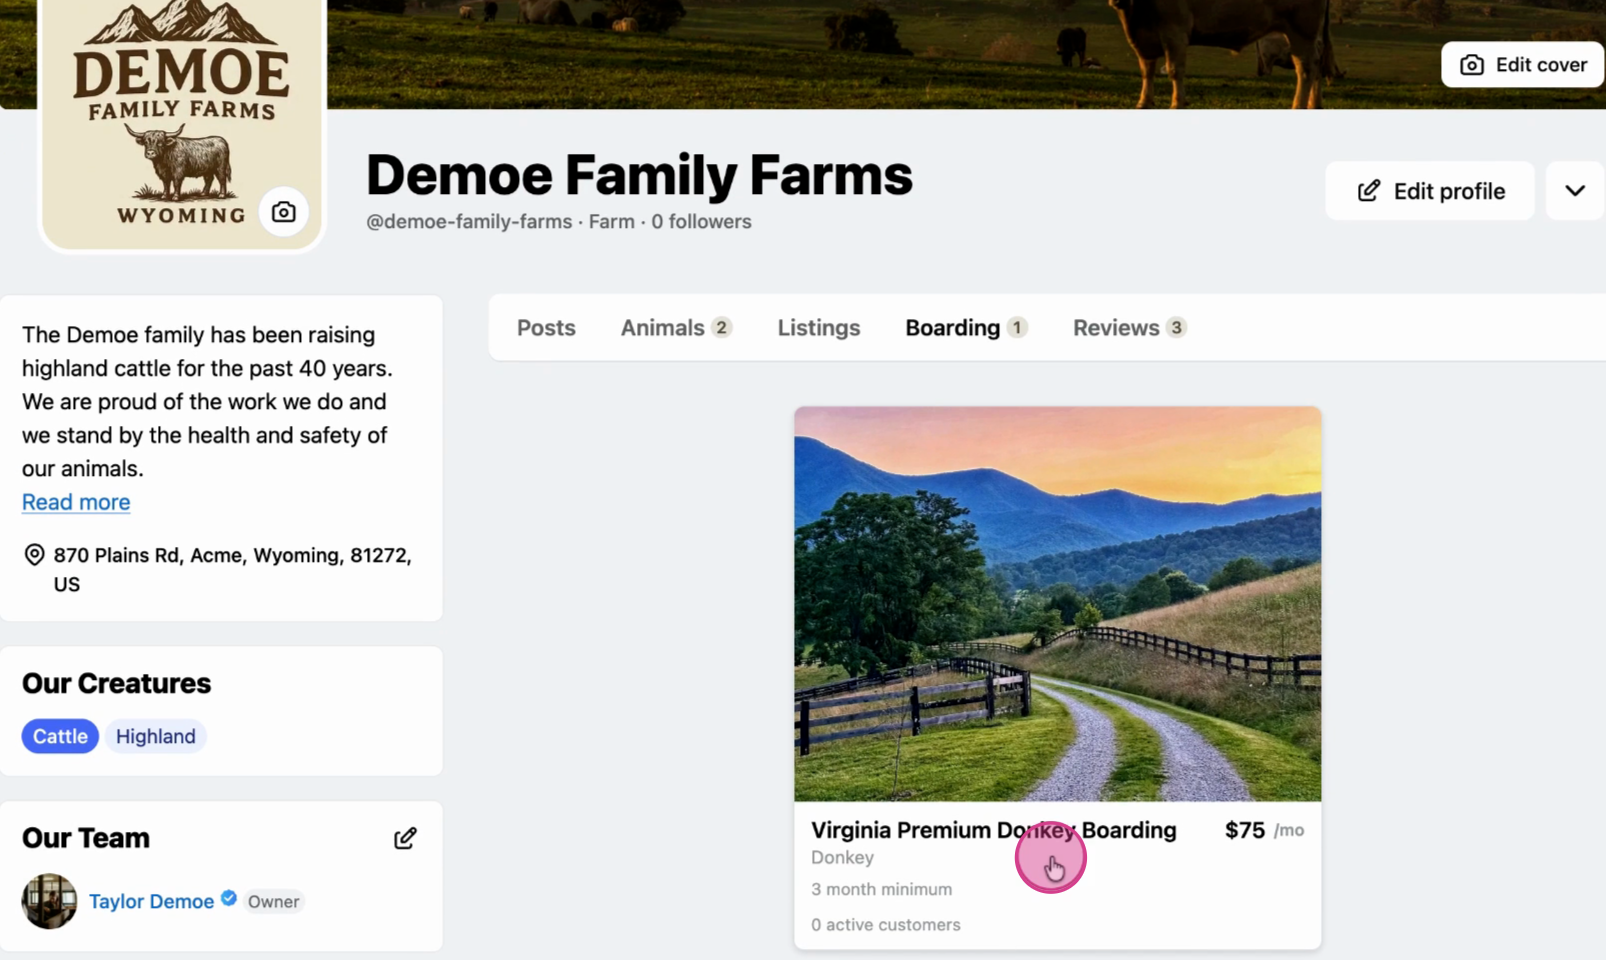
Sign into your organization profile and select Boarding from the profile menu.
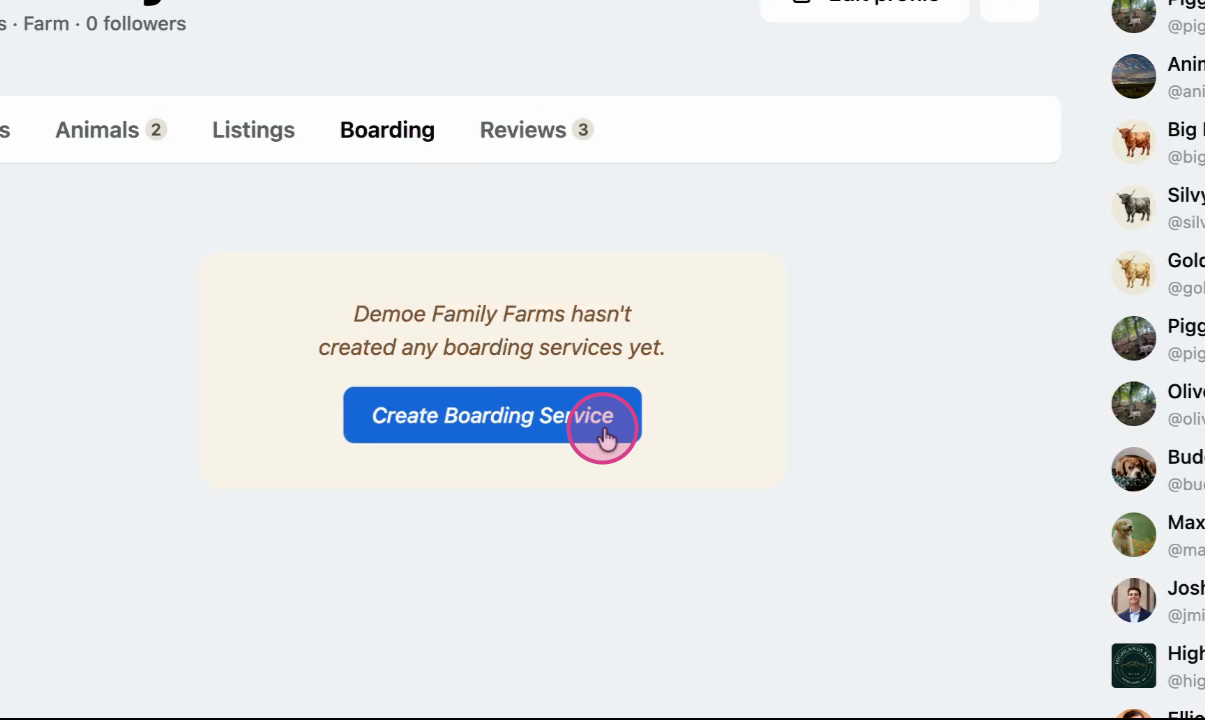
Step 2: Start creating your service
Click Create Boarding Service.
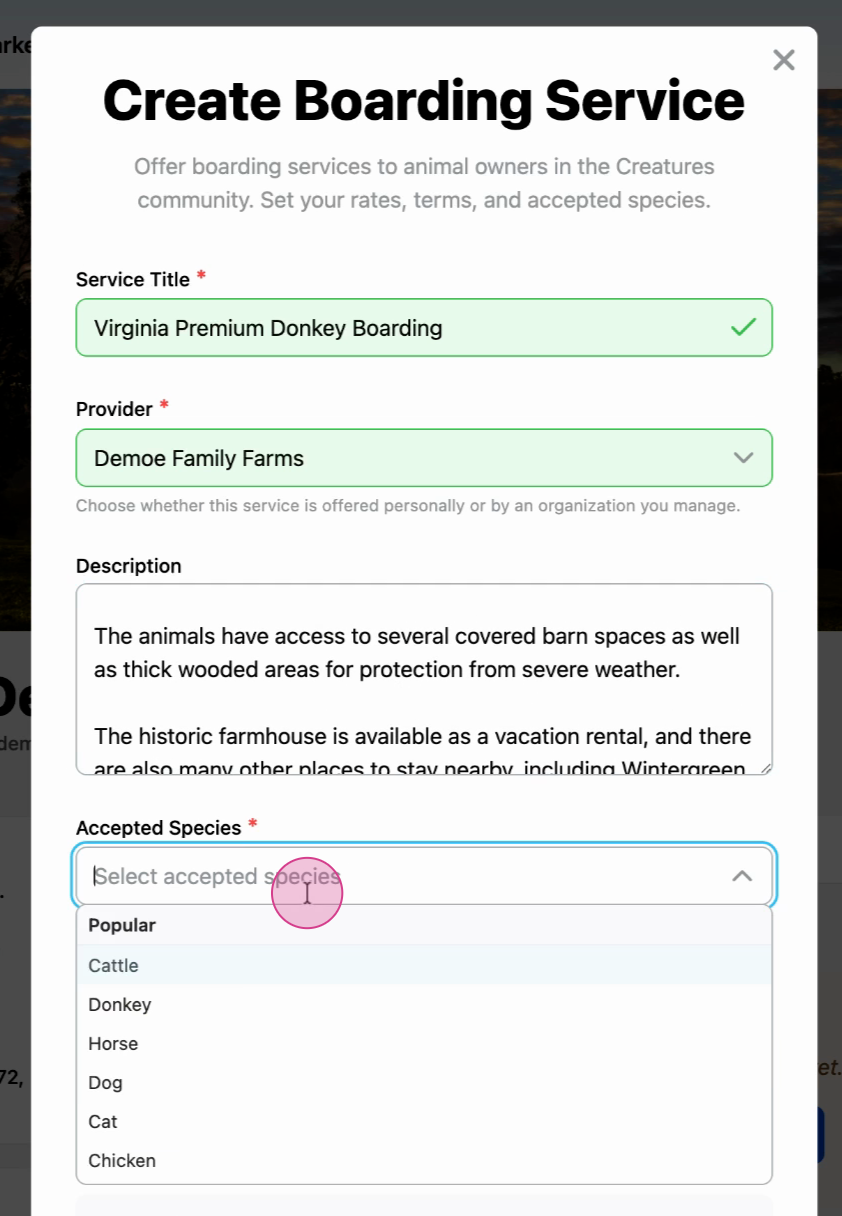
Step 3: Enter service details
Fill in the introductory information:
- Service Title: The name customers will see for your boarding service
- Provider: The account hosting the boarding service
- Description: What makes your boarding service stand out
- Accepted Species: Which animal species you'll board
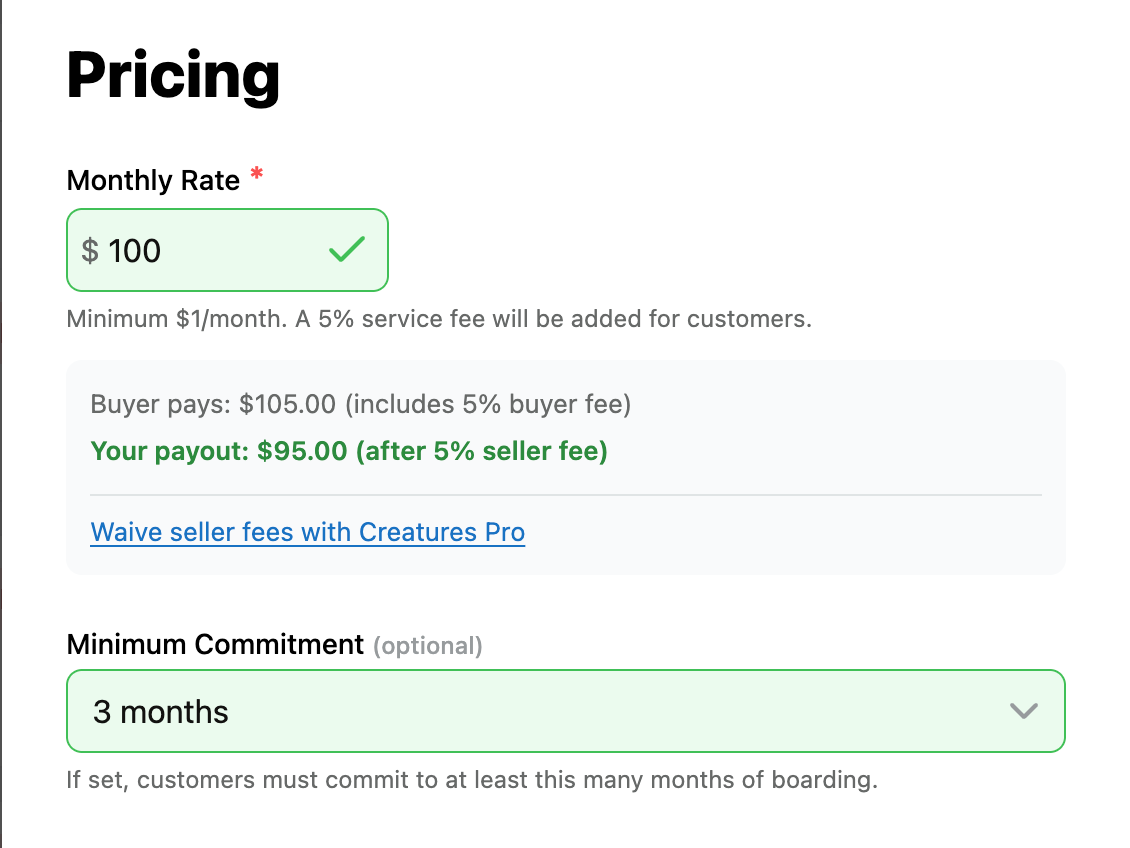
Step 4: Set pricing and commitment
Enter your payment and commitment details:
- Price: The monthly fee clients pay to board their animals. Sellers without a Creatures Pro subscription pay a 5% fee, which is automatically deducted from what the buyer pays.
- Minimum commitment: How long clients must board their animals with you
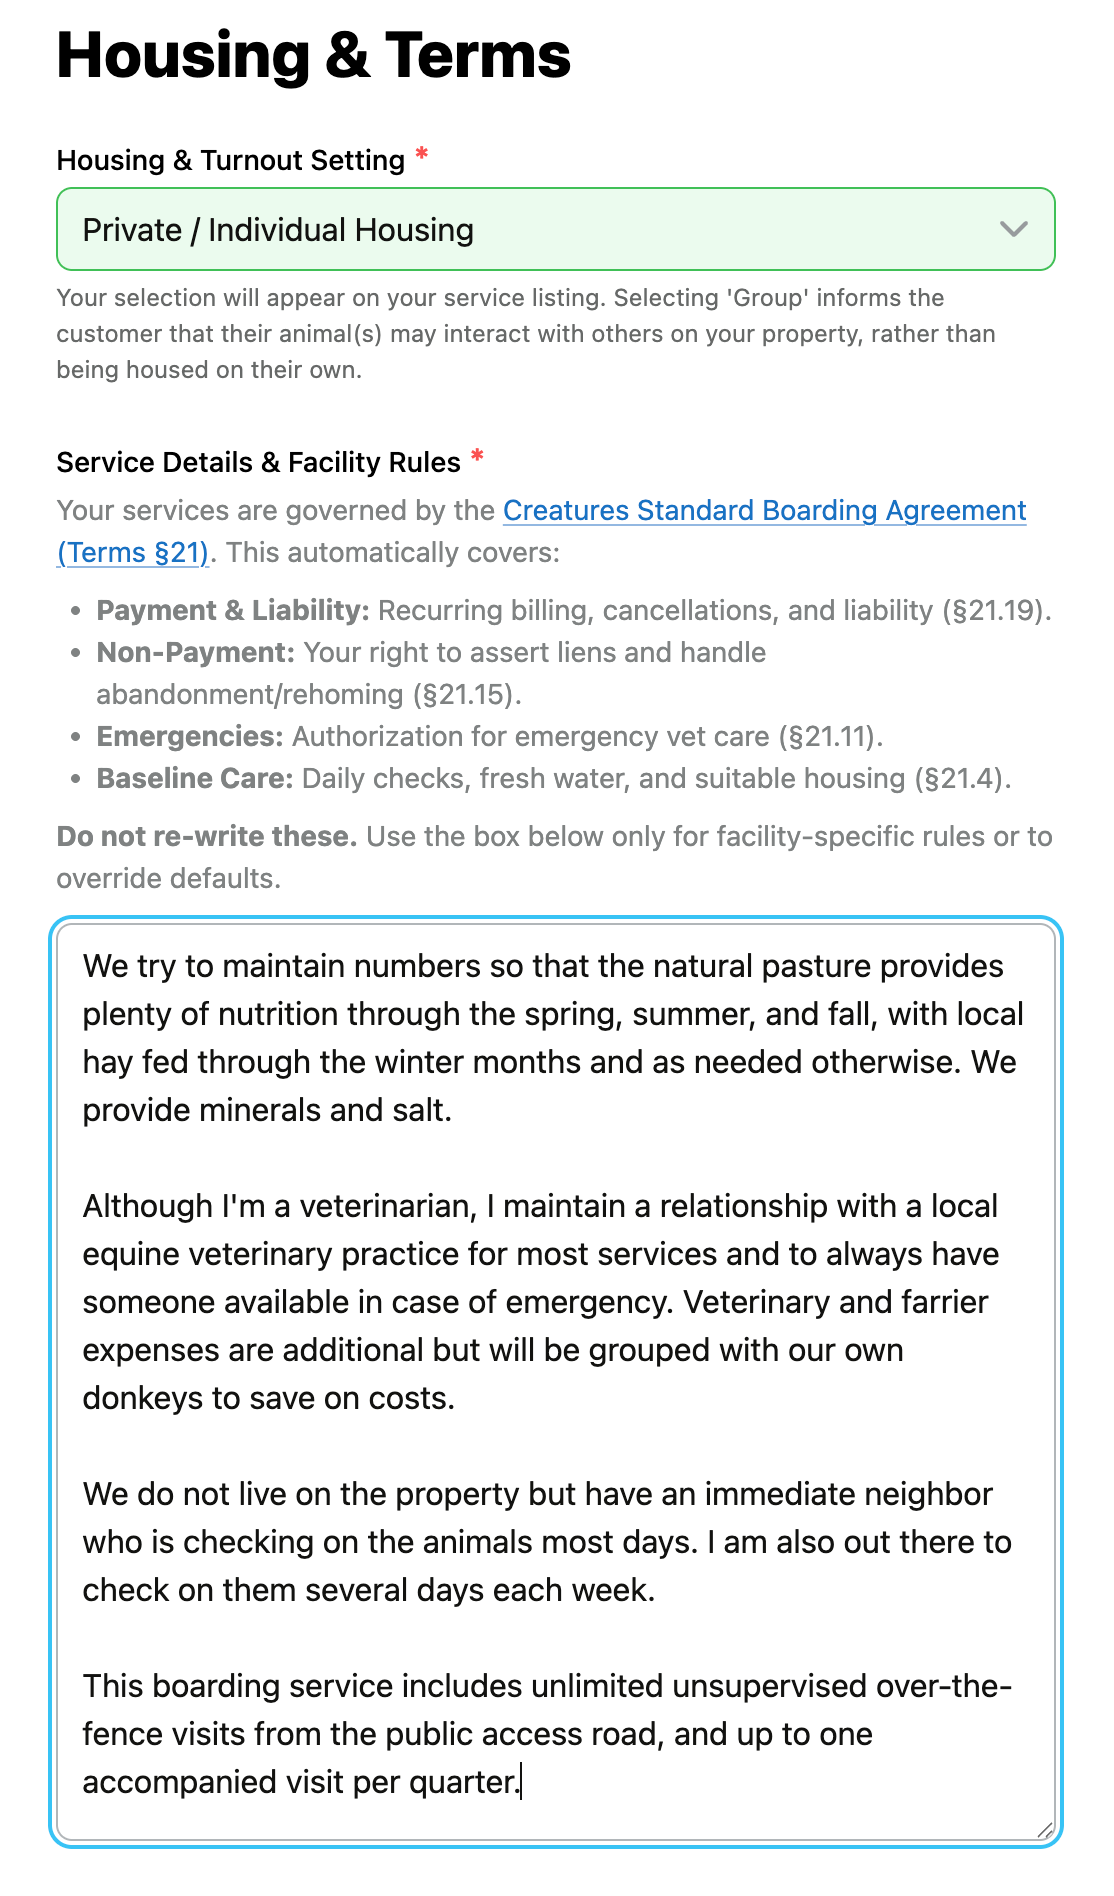
Step 5: Choose housing type and add terms
Select your housing configuration and set your facility rules:
Housing & Turnout Setting
- Private / Individual Housing: Boarded animals won't interact with other animals
- Group / Herd Environment (Commingled): Boarded animals will interact with other animals
Service Details and Facility Rules
Add rules specific to your boarding service. These rules can't contradict the Creatures Standard Boarding Agreement.
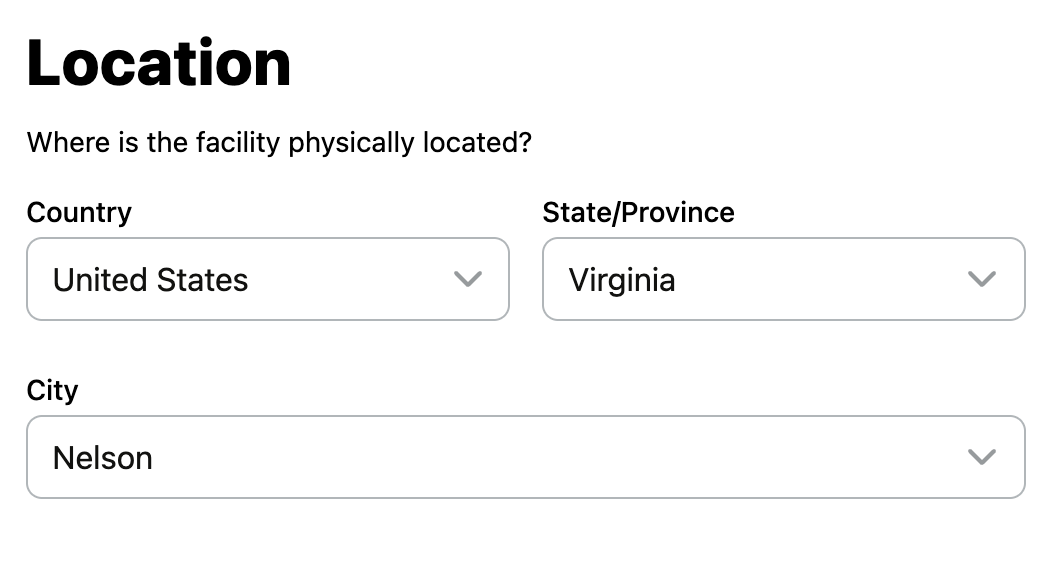
Step 6: Enter your location
Add your organization's address where you'll board animals.
Step 7: Set up customer screening
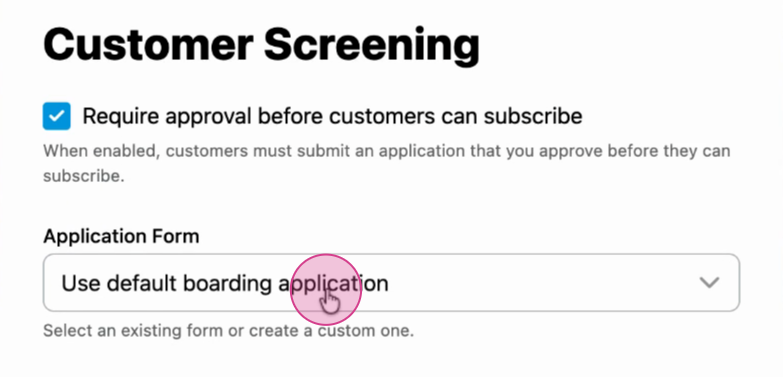
You can screen potential clients before accepting them. Choose between:
Default Boarding Application
Uses Creatures' standard questions for potential clients:
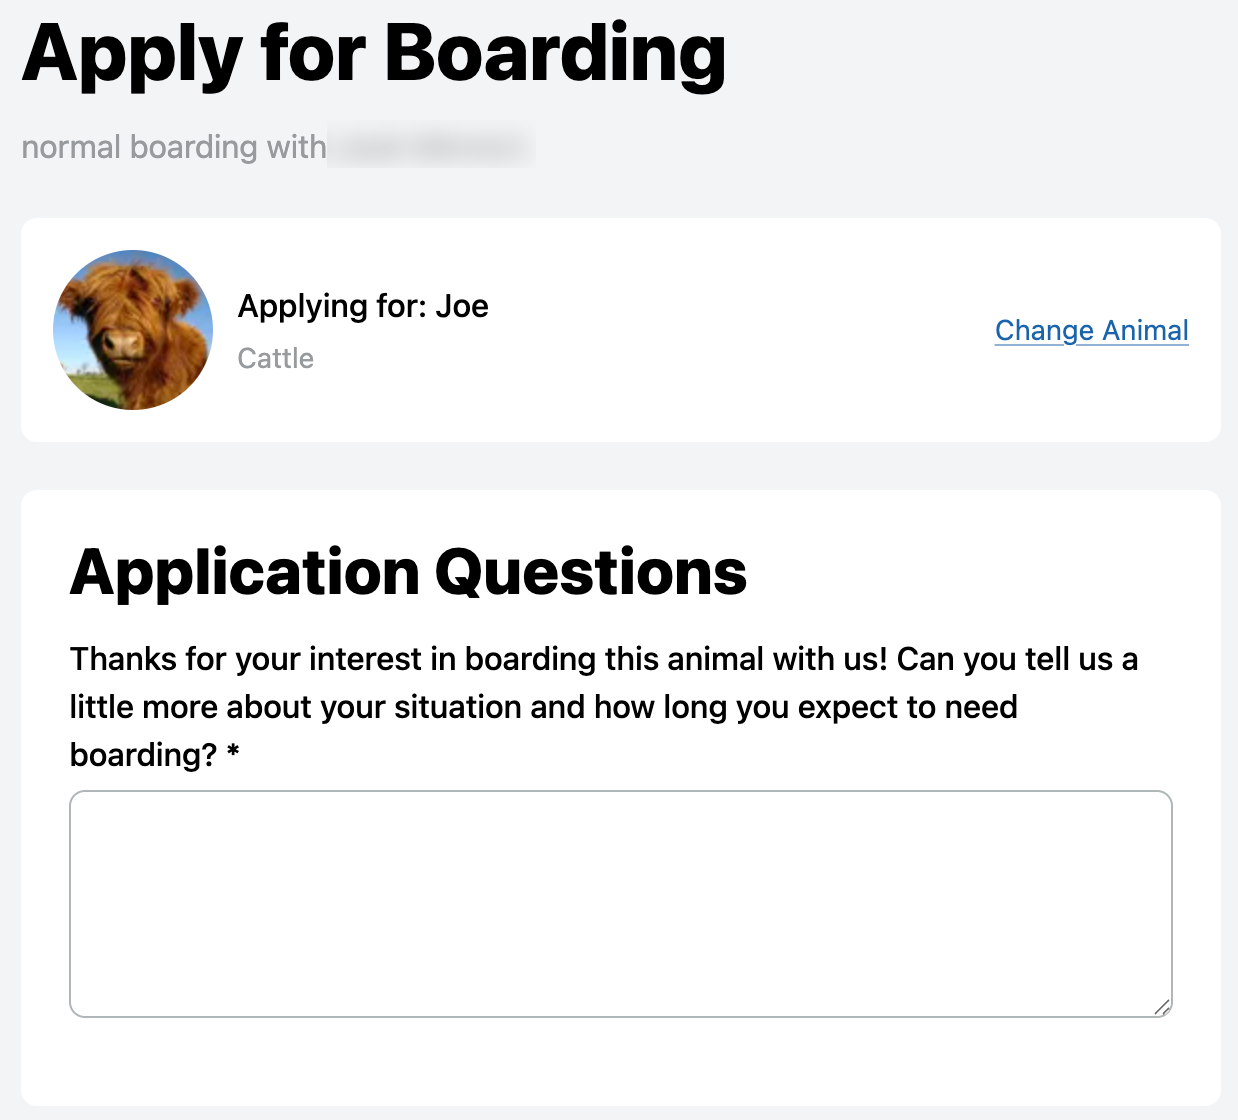
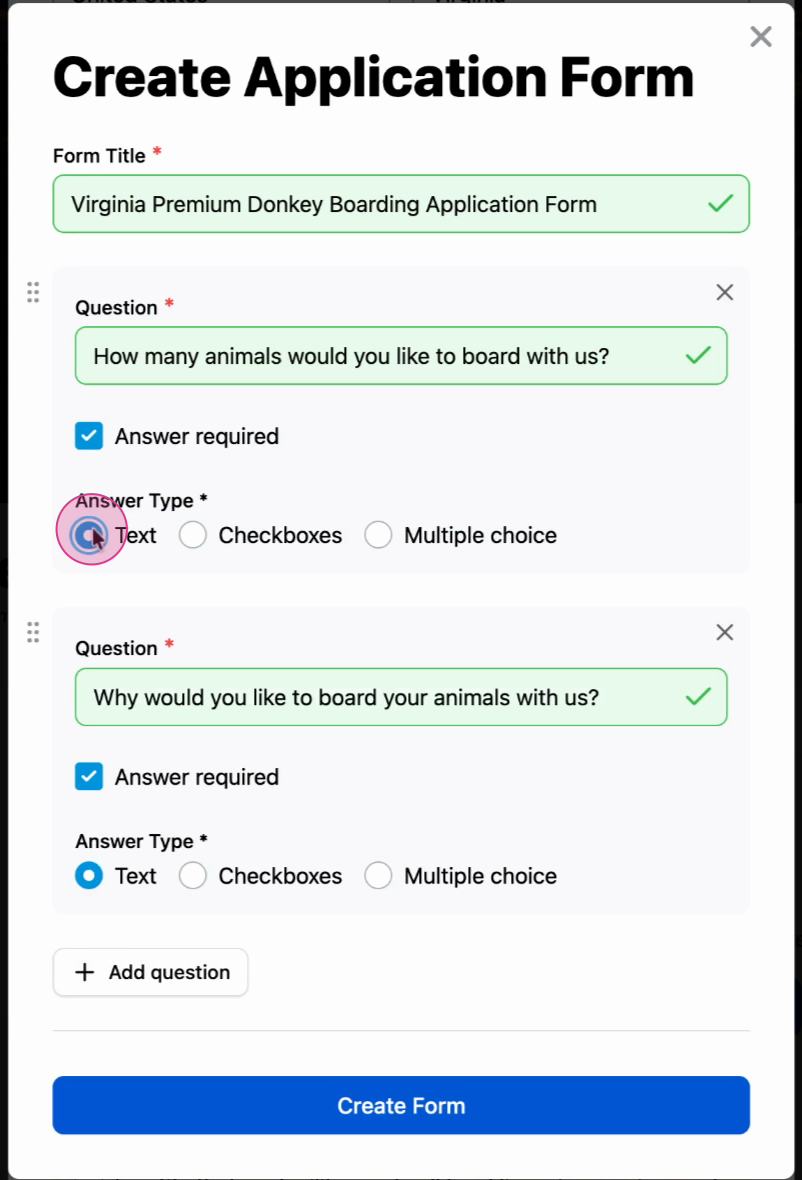
Custom Application Form
Create your own form to ask specific questions tailored to your service:
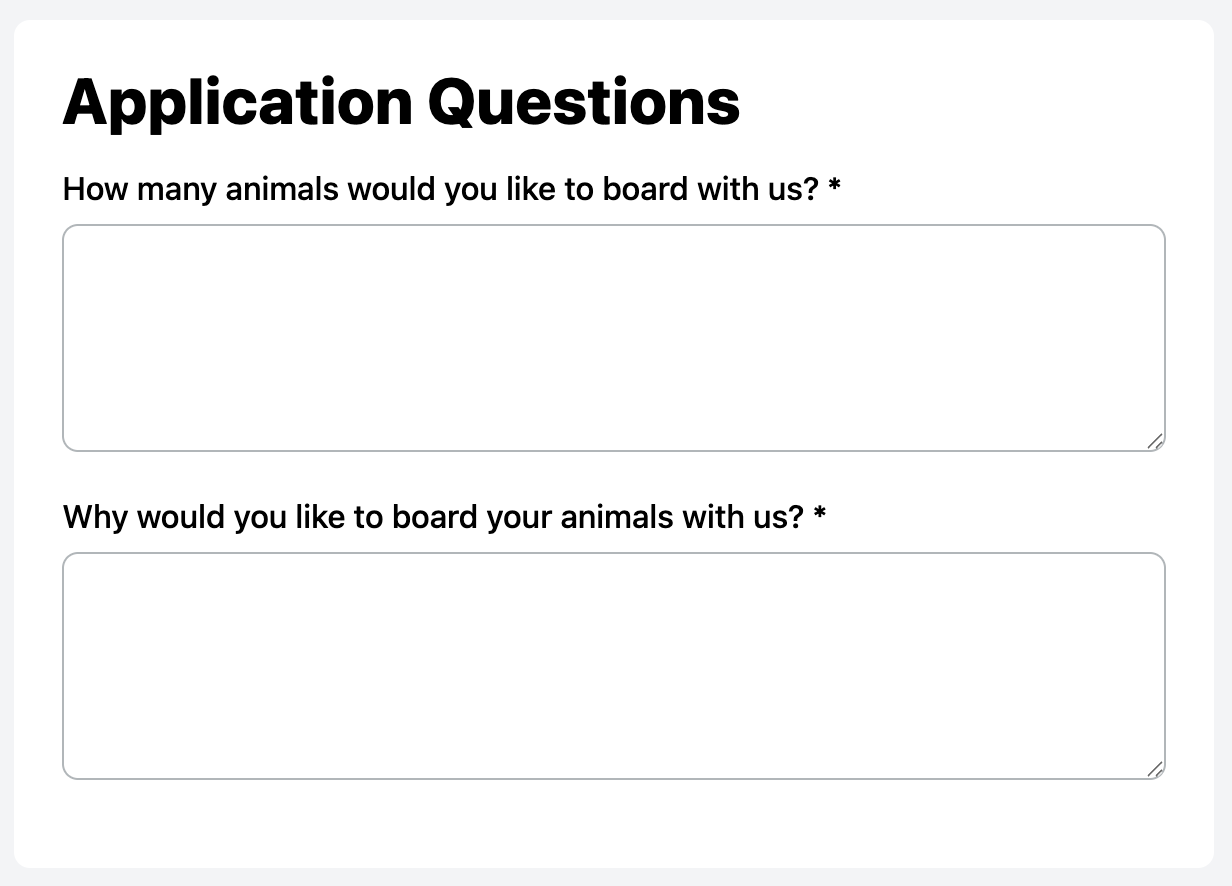
Here's how a custom application appears to customers:
Step 8: Configure visibility
Choose whether your screening form is visible to the public. Leave the checkbox unchecked to make it visible.

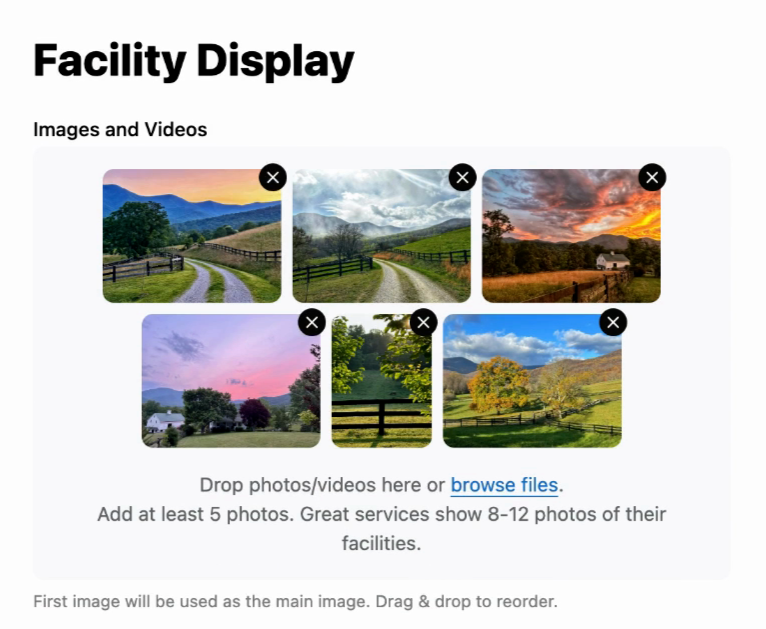
Step 9: Add facility images
Upload images of your facility to attract potential clients.
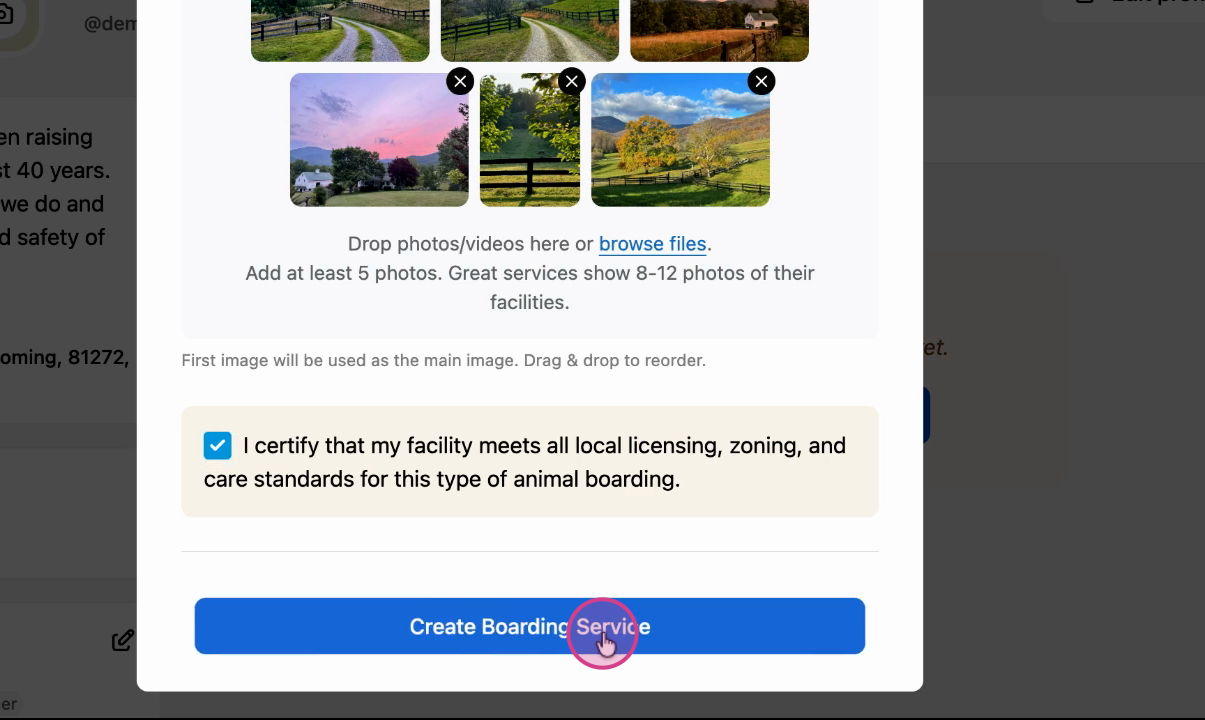
Step 10: Review and publish
Double-check your information, then click Create to publish your boarding service.
Your boarding service is live
Once created, your listing appears to potential clients. They can view your boarding service details and submit applications.
Related articles:
- How to Create a Custom Boarding Service Application Form
- How to Approve a Boarding Service Application
- How to Apply for a Boarding Service
Updated on: 13/01/2026
Thank you!