
How to Create a Private Animal Profile
How to Create a Private Animal Profile
A private animal profile stores your animal's information without publishing it to your public profile or the Creatures feed. Only you and your organization's team members can view it.
This is useful when you need to track records like test results, medical notes, or breeding data that you don't want visible to the public.
Note: The steps below follow the same process as adding a standard animal profile, with one added step: checking the Make this animal private box.
Public vs. Private Animal Profiles
Feature | Public animal | Private animal |
|---|---|---|
Visible on your profile and Creatures feed | Yes | No |
Visible to your organization's team members | Yes | Yes |
Can have public records | Yes | Yes |
Can have private records | Yes | Yes |
Can be listed for sale or auction | Yes | No |
Can be changed to the other visibility type later | Yes | Yes |
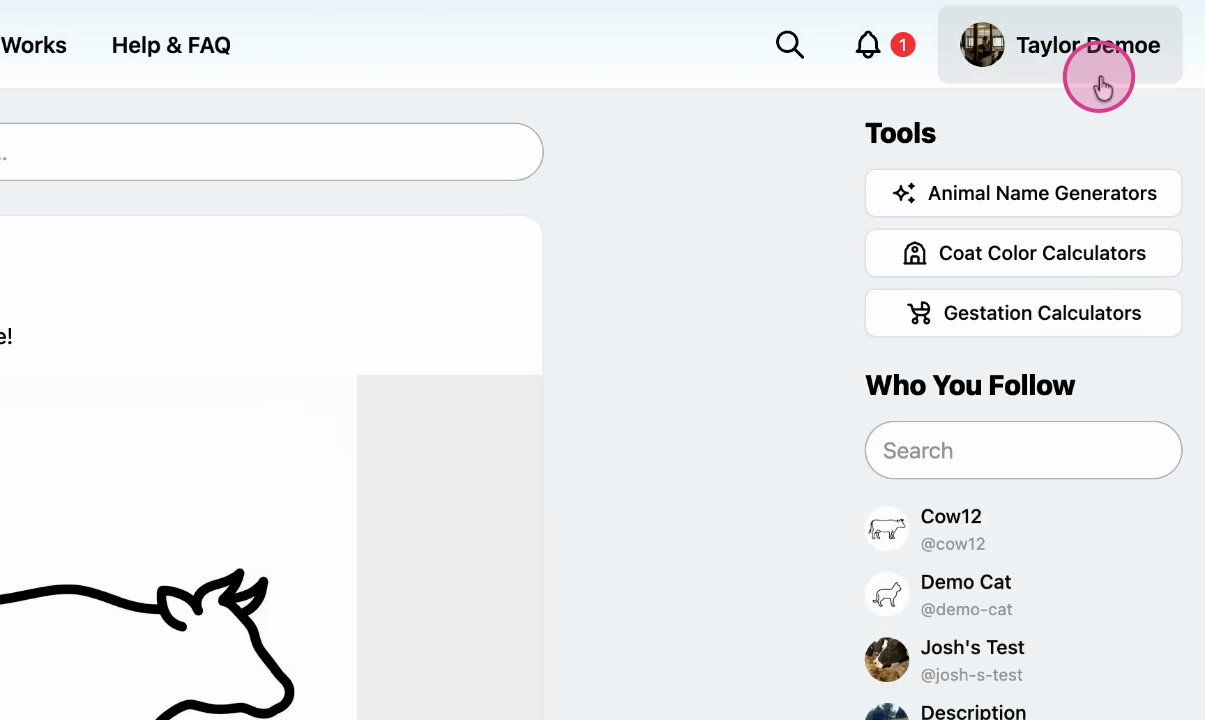
Open your profile menu
From the top-right corner of the page, open your profile menu.
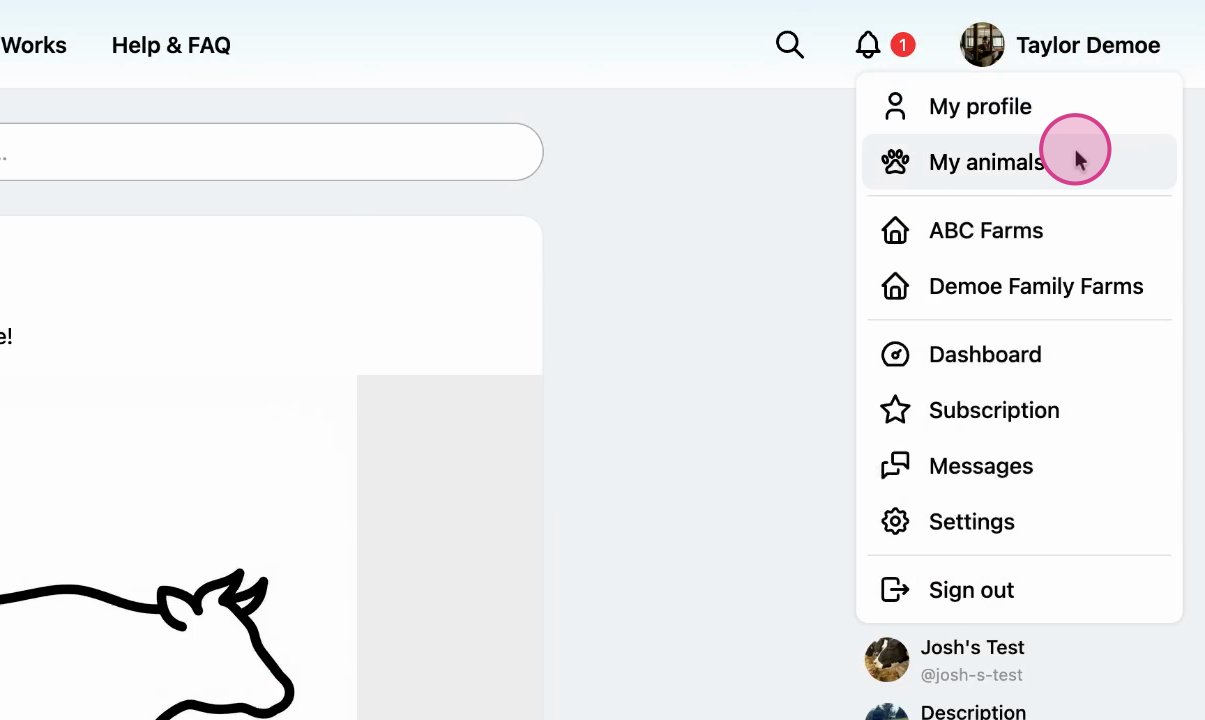
Select My Animals
Click My Animals from the dropdown menu.
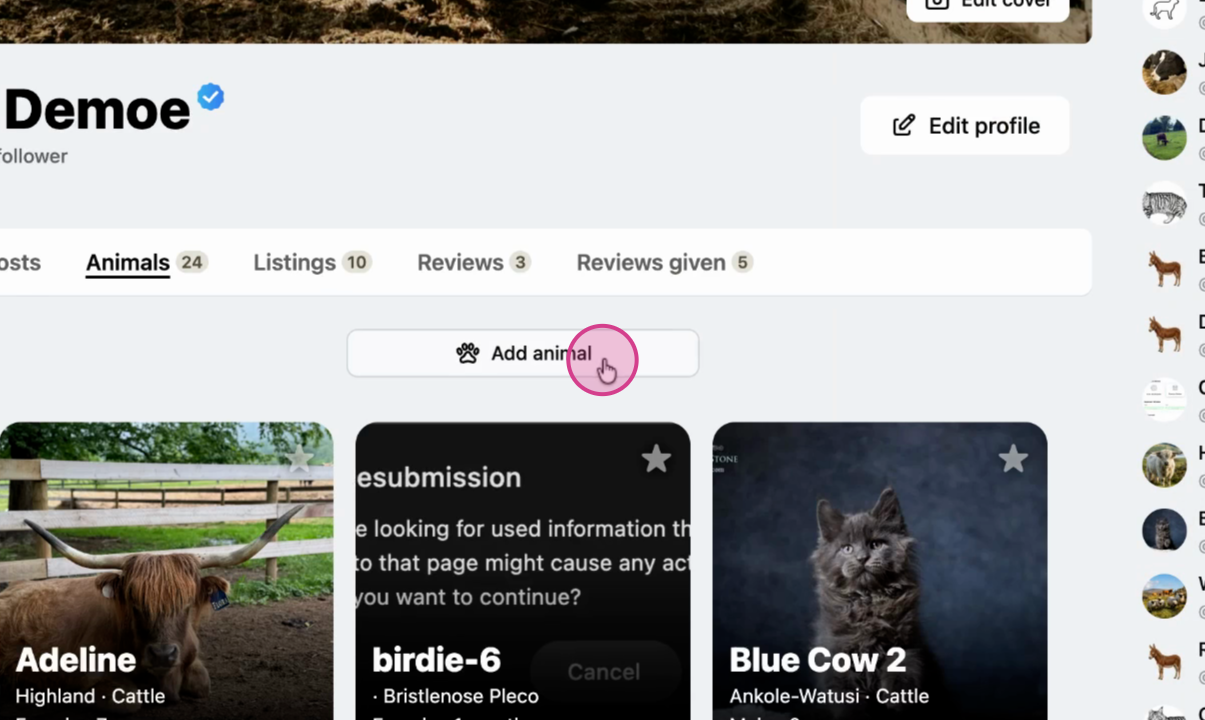
Click Add Animal
Click the Add Animal button to open a new animal profile form.
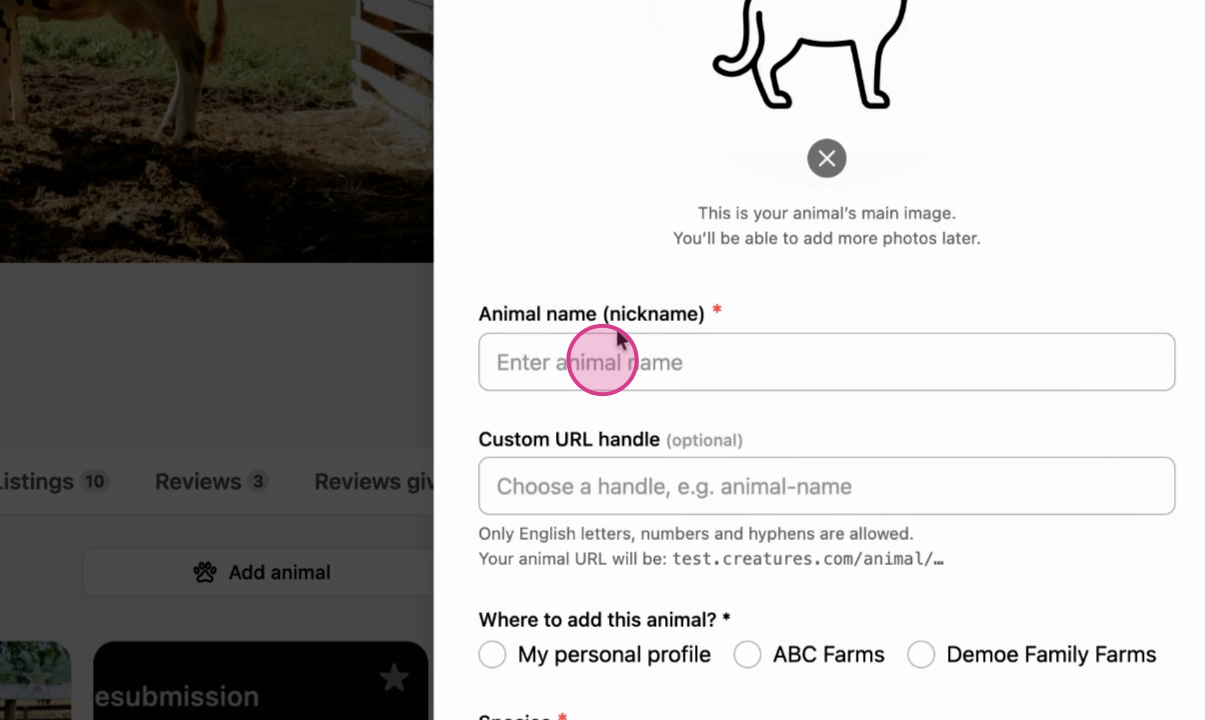
Enter animal details
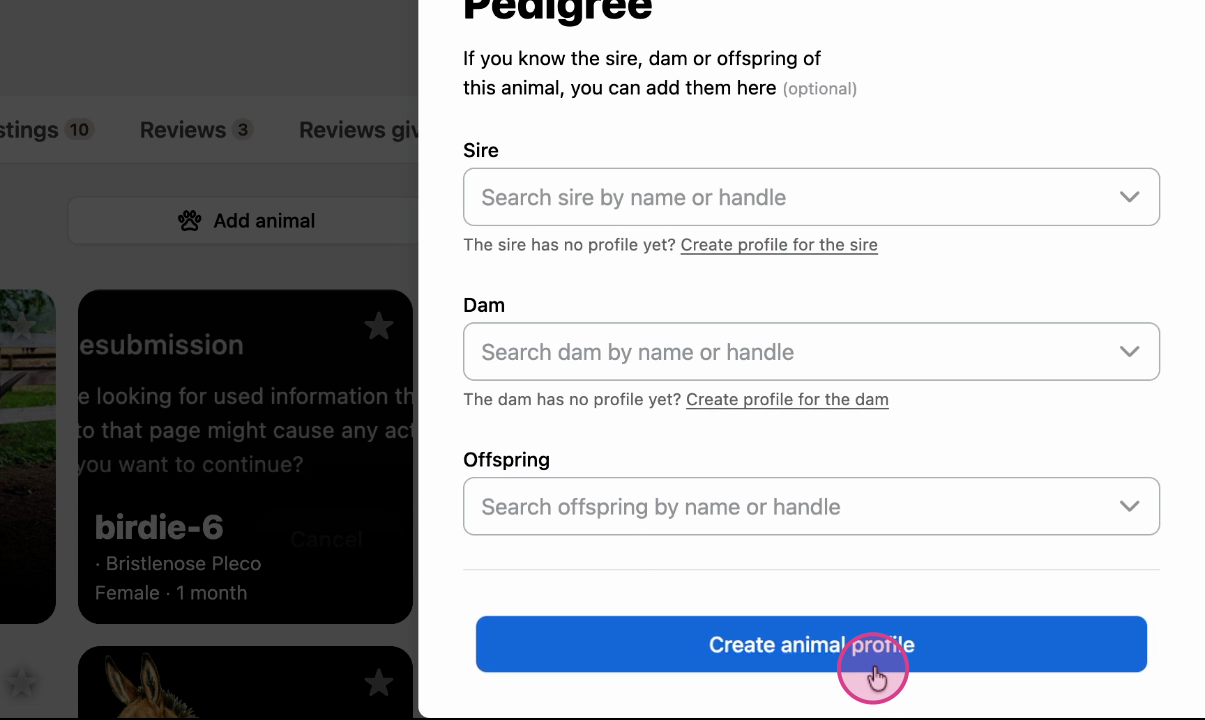
Fill in the animal's information: name, species, breed, photos, and any registration or pedigree details.
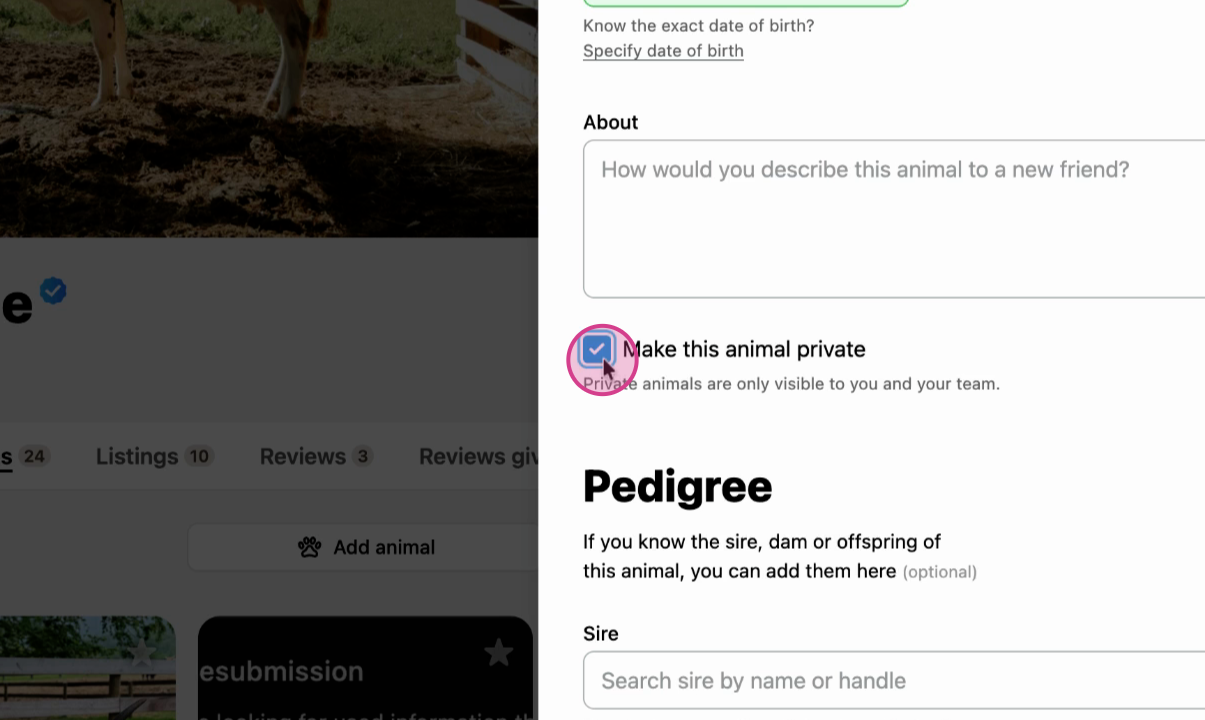
Check the Make this animal private box
Select the Make this animal private checkbox. This keeps the profile visible only to you and your team. No post will be created on the Creatures feed.
Save the profile
Click Create Animal Profile to save.
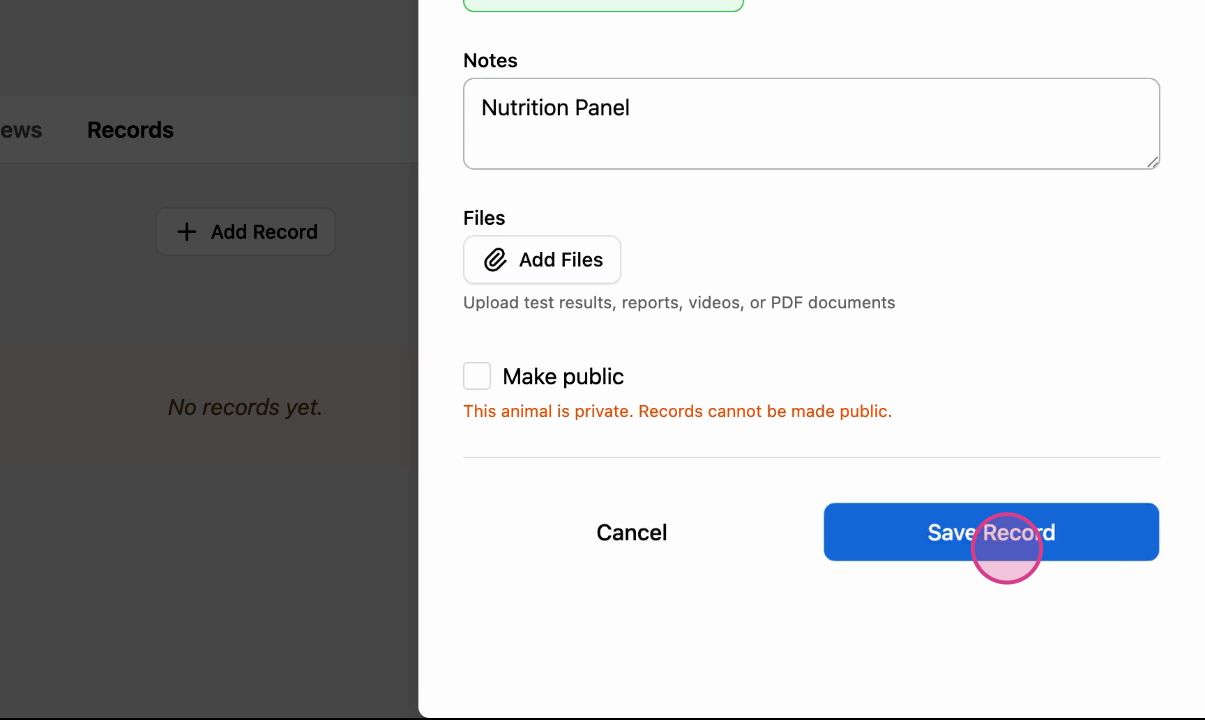
Once saved, the profile displays a Private badge. You can add records to it the same way you would on any animal profile.
Adding records to a private animal profile
Open the private animal profile and add records (test results, vaccinations, medications, etc.) as you normally would. These records stay private by default. You can change the profile's visibility to public later if needed.
Related articles:
Updated on: 16/02/2026
Thank you!