
Add an animal by importing its pedigree
Use Add by importing a pedigree when one animal's pedigree is your starting point. Creatures prepares the subject and family for review; it does not save the animal simply because you uploaded a document.
Start from Add animal
- Select Add animal.
- Choose Add by importing a pedigree.
- Upload one PDF or image up to 5MB, use the phone-photo option, or paste the animal's public page. This path reads that page, not the rest of the website.
- Check the selected file or image preview, then select Review pedigree.
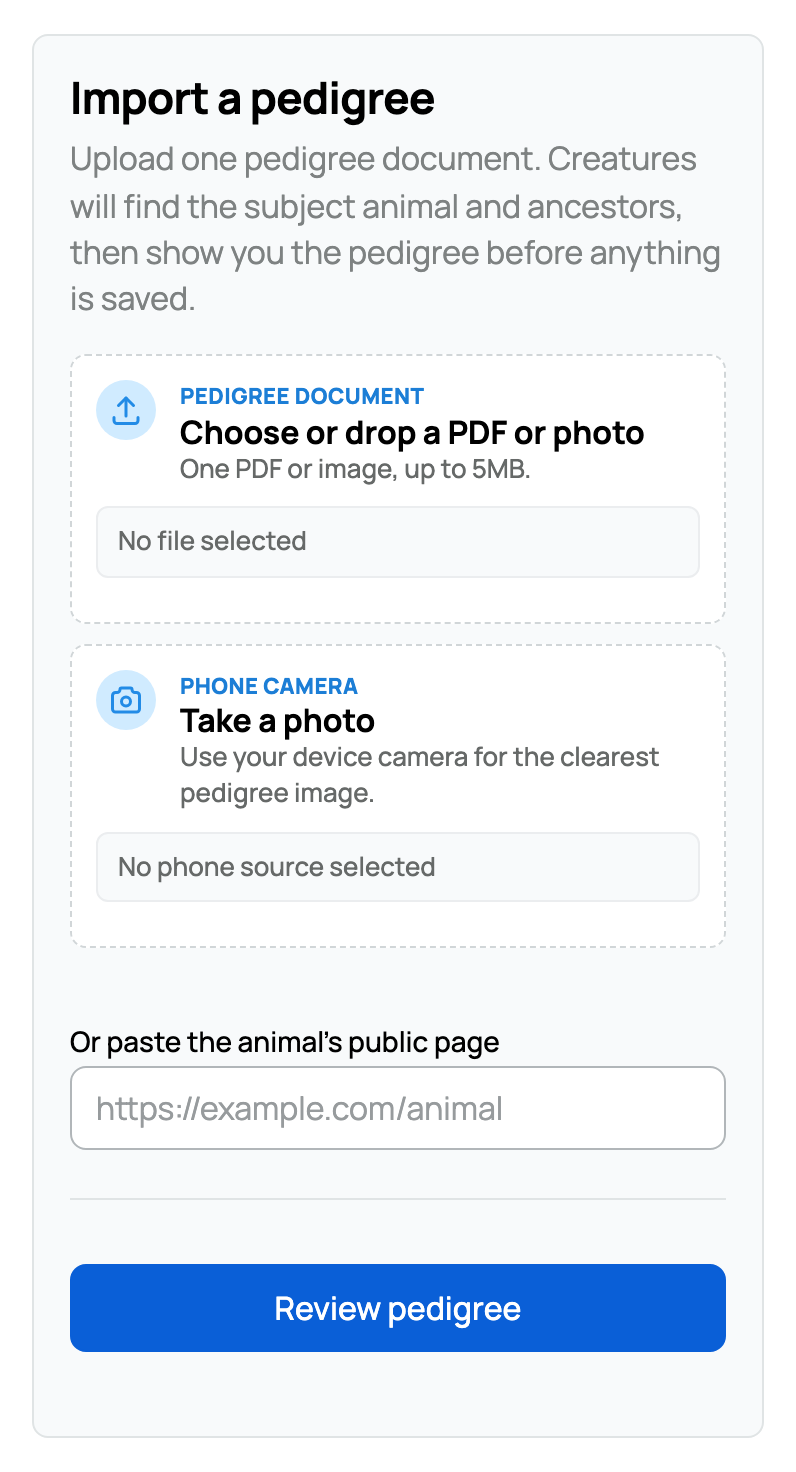
If Creatures lets you begin while signed out, you still need to sign in or create an account to save. Follow the account and review prompts; reaching the review is not confirmation that the animal has been added.
For several pedigree documents, use Importing your animals instead.
Choose your animal
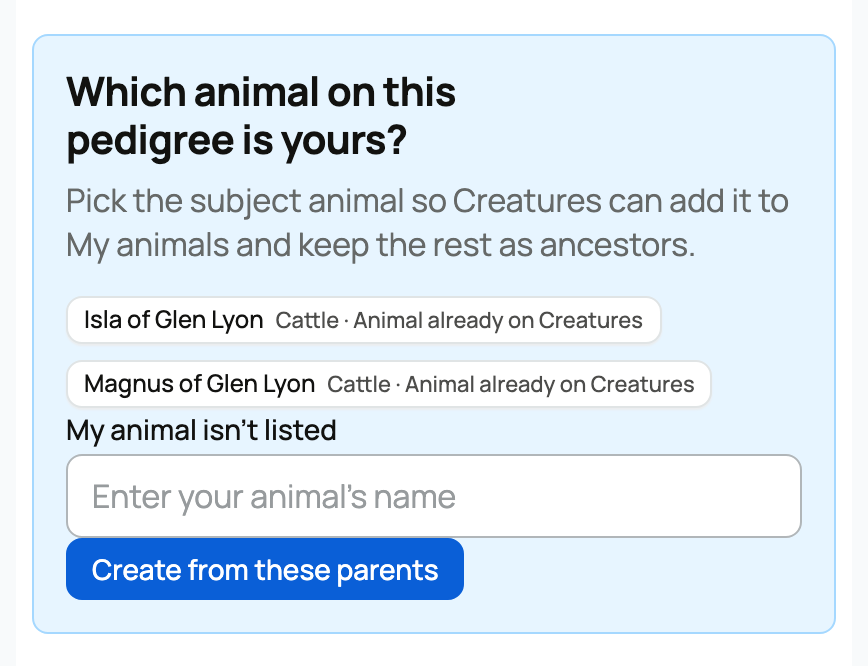
If asked Which animal on this pedigree is yours?, compare the registration, birth date, and source details, not just the name. Choose the animal the document belongs to.
When Creatures finds an existing profile and offers Add pedigree to that animal, check it before continuing. Use Add a new animal only for a different animal.
If the document shows only the parents, use My animal isn't listed and Create from these parents when offered. Enter your animal's name, then check its sex and details in review. If the chart is cut off or the option is not offered, provide a clearer source rather than picking the nearest name.
Review, then save
Follow Reviewing, editing, and confirming an import to check relatives, uncertain readings, document privacy, and the final confirmation. An unresolved family choice can leave part of the pedigree empty; saving does not fill the gaps by guessing.
Keep the original document yourself. When a saved pedigree-record copy is offered, it is private by default. Do not make it public without checking for addresses, contact details, signatures, and sales information.
Continue an interrupted import
Use Open this import when shown, or return to Recent Imports after signing in. Stay in the same browser for a review you began while signed out. Reselect a file only if asked; do not start another import just because reading takes time.
If a source or unfinished upload has expired, start again with your original. After saving, read the result and follow the review guide's Undo import instructions if something is wrong.
Related information
- Reviewing, editing, and confirming an import
- Importing your animals (bring them all in)
- Importing from Rabbit15, Cavy15, Goat15, and Poultry15 (the winrbro import)
Updated on: 03/09/2026
Thank you!